WA3DSP Build of the
BitX40 Transceiver
Introduction
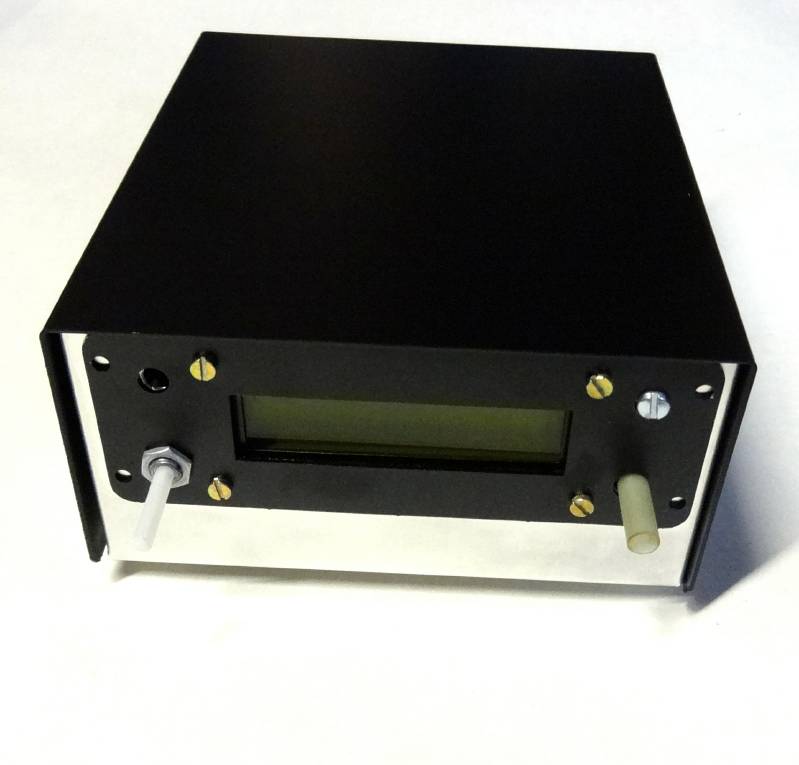
Here are some Photos of my build of the BitX40 Transceiver
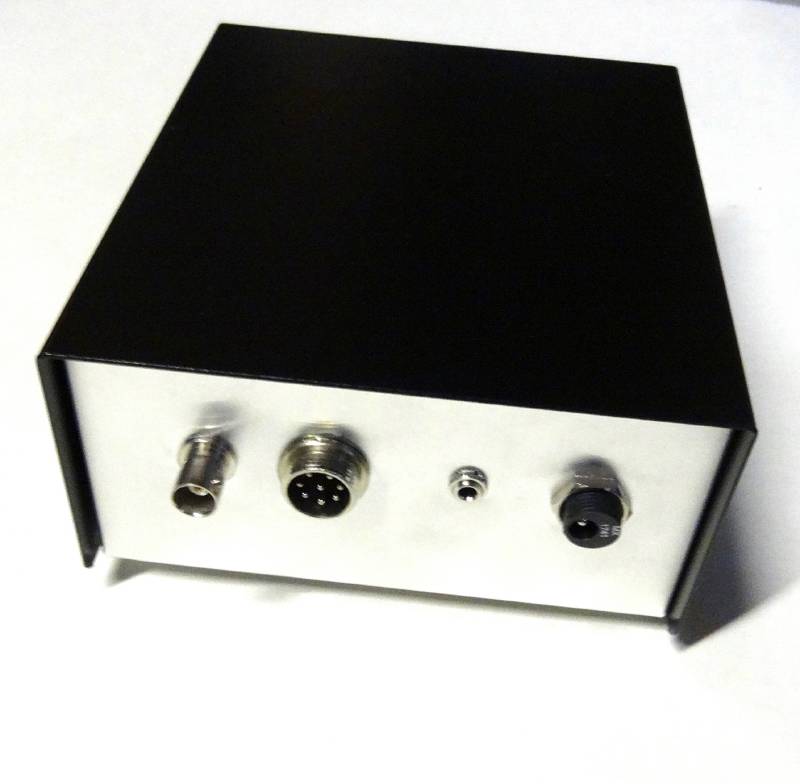
Rear Panel - Antenna, Mic (wired for Kenwood/Alinco), Speaker, Power
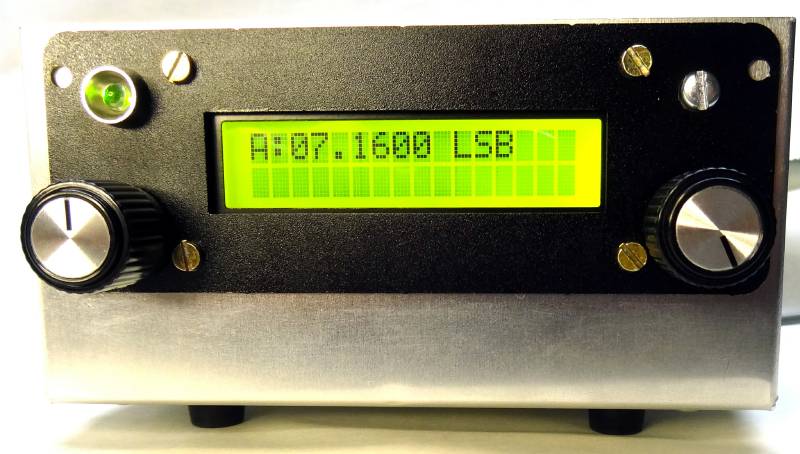
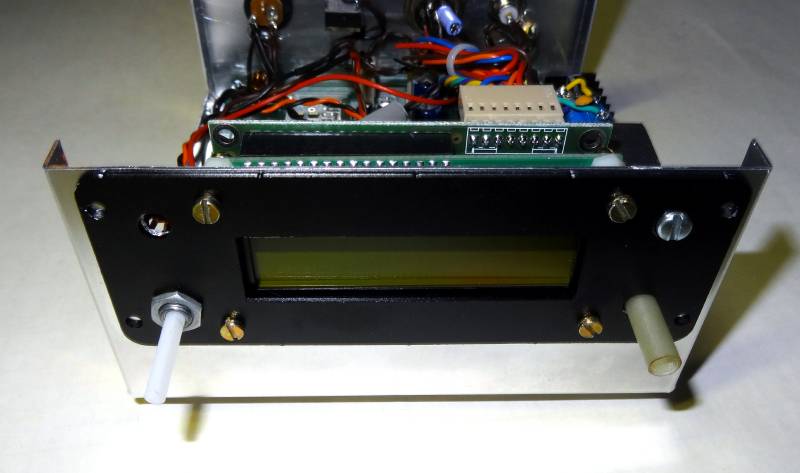
Front panel before final touches. The panel
is available from QRP LABS as a blank panel.
https://www.qrp-labs.com/
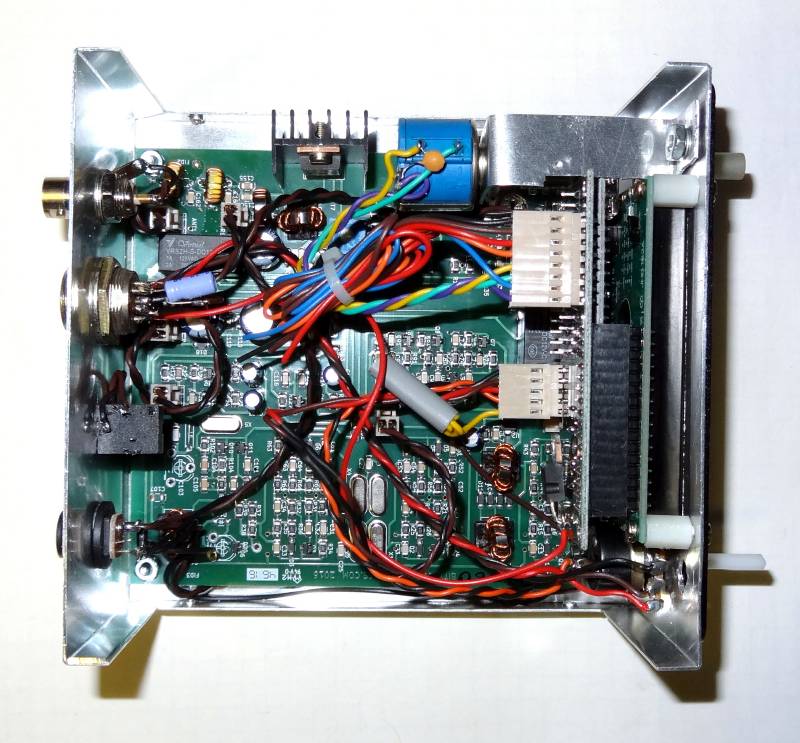
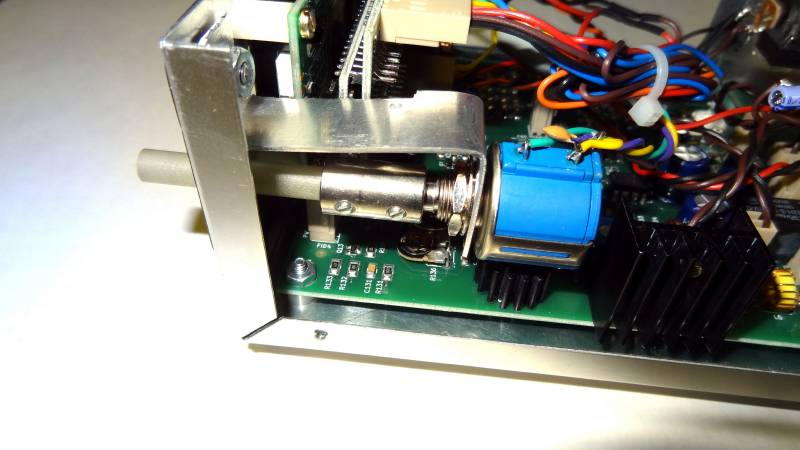
Photo shows addition of 10 turn tuning pot and bracket.
Side view of 10 turn pot, support bracket, and shaft.
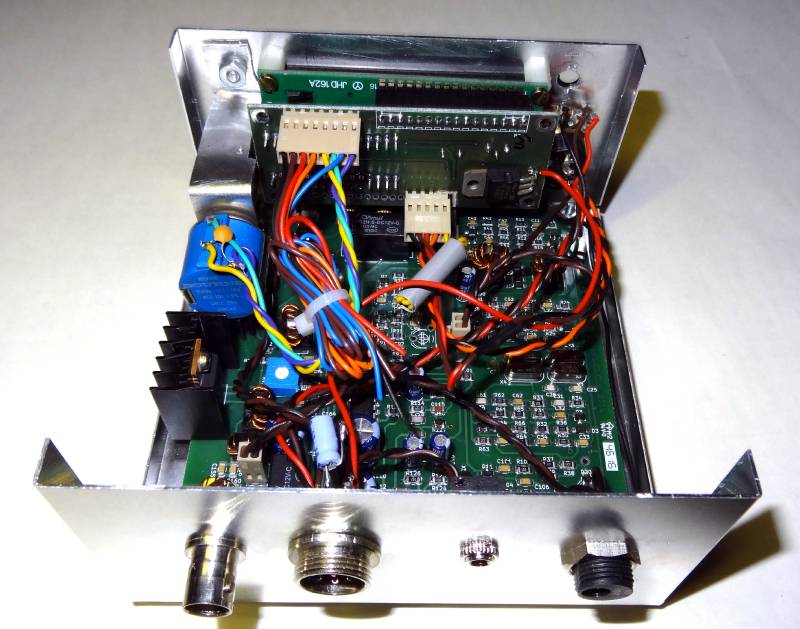
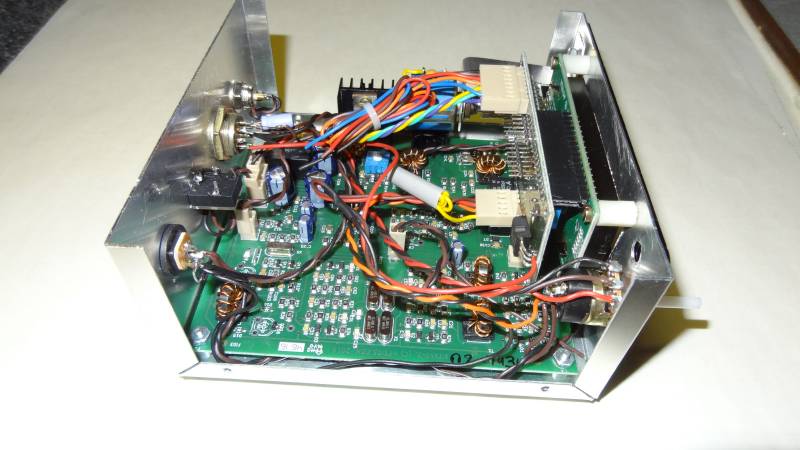
5V regulator moved to the front of the board and facing in to save room.

Showing addition of 5V regulator heatsink and LM386 Audio Amplifier.
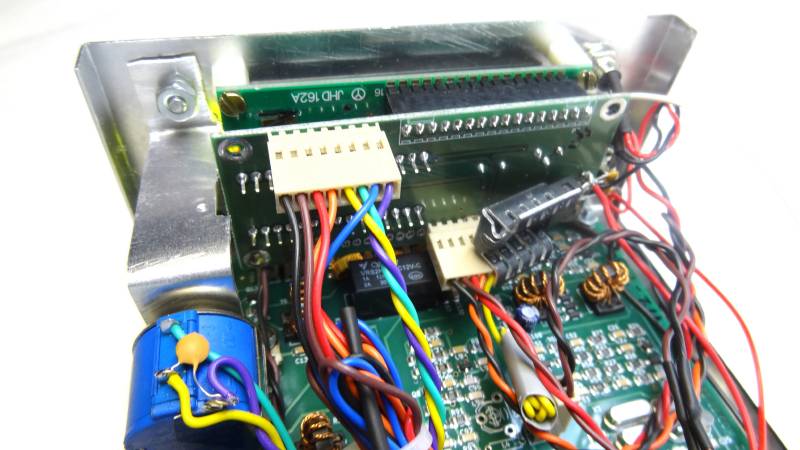
Another view of the 5V regulator heat sink.
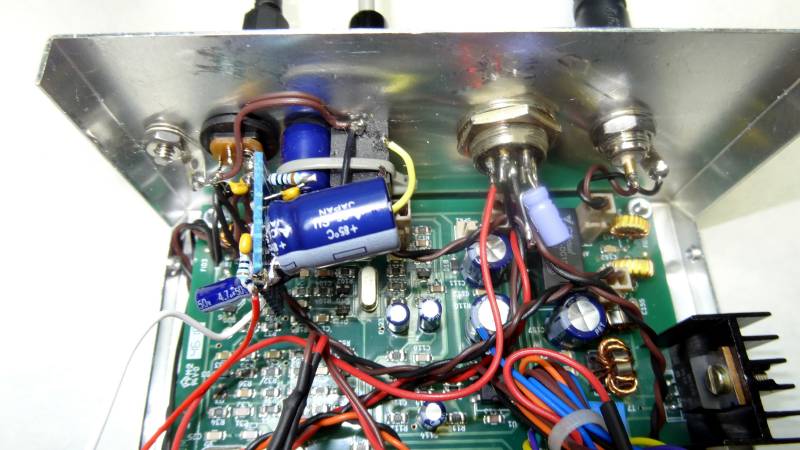
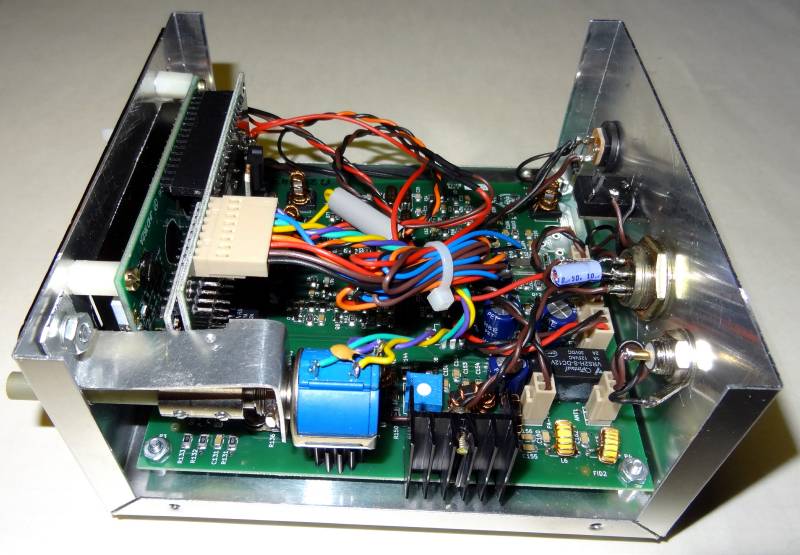
View of LM386 audio output board - wire tied to output jack.
The LM386 audio output modification is a worthwhile project. I found the internal amplifier to overload and distort very easily. When using the LM386 I left the gain at 20 (no external gain parts) and the usual recommended external parts. It is important to bypass and isolate the audio amplifier. I had a great deal of problems until I isolated it from the main 12V bus with a 10 ohm resistor and 470uf electrolytic.
Also the 10 turn pot is a great addition. Tuning is very smooth similar to what you would expect from a $1000 transceiver.
Next on the agenda is getting the protection diodes in. I have to disassemble everything to do that so also waiting for some possible choices on adding a much needed AGC circuit.
© 2017 - WA3DSP